Lifecore’s Guide To a Smooth Installation (Part 2)
- Tags: allergies, cleaning, furniture, hardwood flooring, installation, paint
- Category: Blog
- 0 comment
In Lifecore’s Guide To a Smooth Installation Part 1, we shared tips on how to find the right contractor and what points to communicate to them in for a successful installation.
In Part 2, our focus is on installation day and what you’ll need to have in place for great results. If you are going to do the prep work of current floor removal or furniture be clear that you are meeting the expectations of the installer. Communication during the process is as important as prior to installation. This is where obstacles can occur. You (consumer) don’t know what to expect – so do not make assumptions and ask questions. most installation problems could be avoided with good communication.
As discussed in Part 1, you should be going into installation day with hardwood that has been acclimated a minimum of 72 hours, all your trims and moldings secured and a clear idea of what plank pattern you’d like your new flooring to have (which you already shared with your contractor). Assuming that all of those boxes with the contractor are checked, it’s time to prepare on your end for the big day.
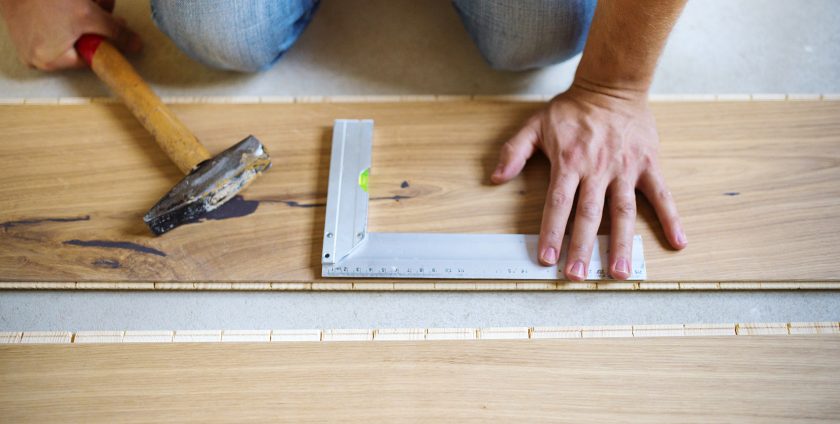
First, we recommend you make plans to remain home the day of installation and check frequently on the progress. Call the installer or your dealer the day before to be clear on expectations. In the beginning of the installation, make sure you are getting the plank placement you want to blend lighter and darker planks and varied wood grains. Every box will have a different variety of plank sizes and color variance. It’s too late if you come home later that day and the entire floor has been installed.

If you had planned on painting the room, its doors, or closets, you will want to have that done at least 48 hours prior to installation to make sure that the paint is dry. Painting, or not, you’ll want the new flooring installed in the room’s closets, which means you’ll need to remove all hanging items and those on the floor so that the installers will have a clear path to work.
At the 48-hour mark, you should also begin boxing up breakables, clearing off shelves, taking down floor-length drapes, and cleaning out drawers in the room where the new flooring will go. This way, your contractor will be able to move the furniture easier and with no risk of damaging your belongings.
Note: You should discuss furniture removal with your contractor well before installation day. There are some installers who won’t move furniture, and you don’t want to find yourself in that situation before it’s too late to make other arrangements.
On the morning of installation day you’ll want to give your “old” flooring one last cleaning, using either a vacuum (if it’s carpet) or a broom (if hard surface). This will help to minimize any dust, debris, and allergens that have collected on the old floors from being thrust into the air when the installers remove it. You may also want to go the extra step to ensure that airborne allergens don’t find their way into the rest of the house by taping clear plastic securely over doorways, heating ducts, and other openings. This provides more protection than just closing the door while still allowing light to come in.
As mentioned in Part 1, the flooring will need to be cut in order to fit, so you should establish and prepare the cutting area. You will not want to leave it up to installers to pick an area, as there is always the possibility that they will not choose the best option.
Ideally, you will want to designate space outside so that sawdust and other particles are not distributed throughout your house. A concrete patio would be the easiest to sweep up afterward, however a level patch of grass or ground will work. You should avoid using the driveway, as small, sharp pieces of wood could find their way into tires if not properly cleaned up. If the weather does not allow for an outdoor cutting area, then space in the garage should be cleared, or, as a last resort, the basement, but make sure the doors and windows remain open for proper ventilation. Even if this was discussed with the contractor before installation, you’ll want to ensure the installers who arrive at your house that day are aware of where your designated cutting area is.
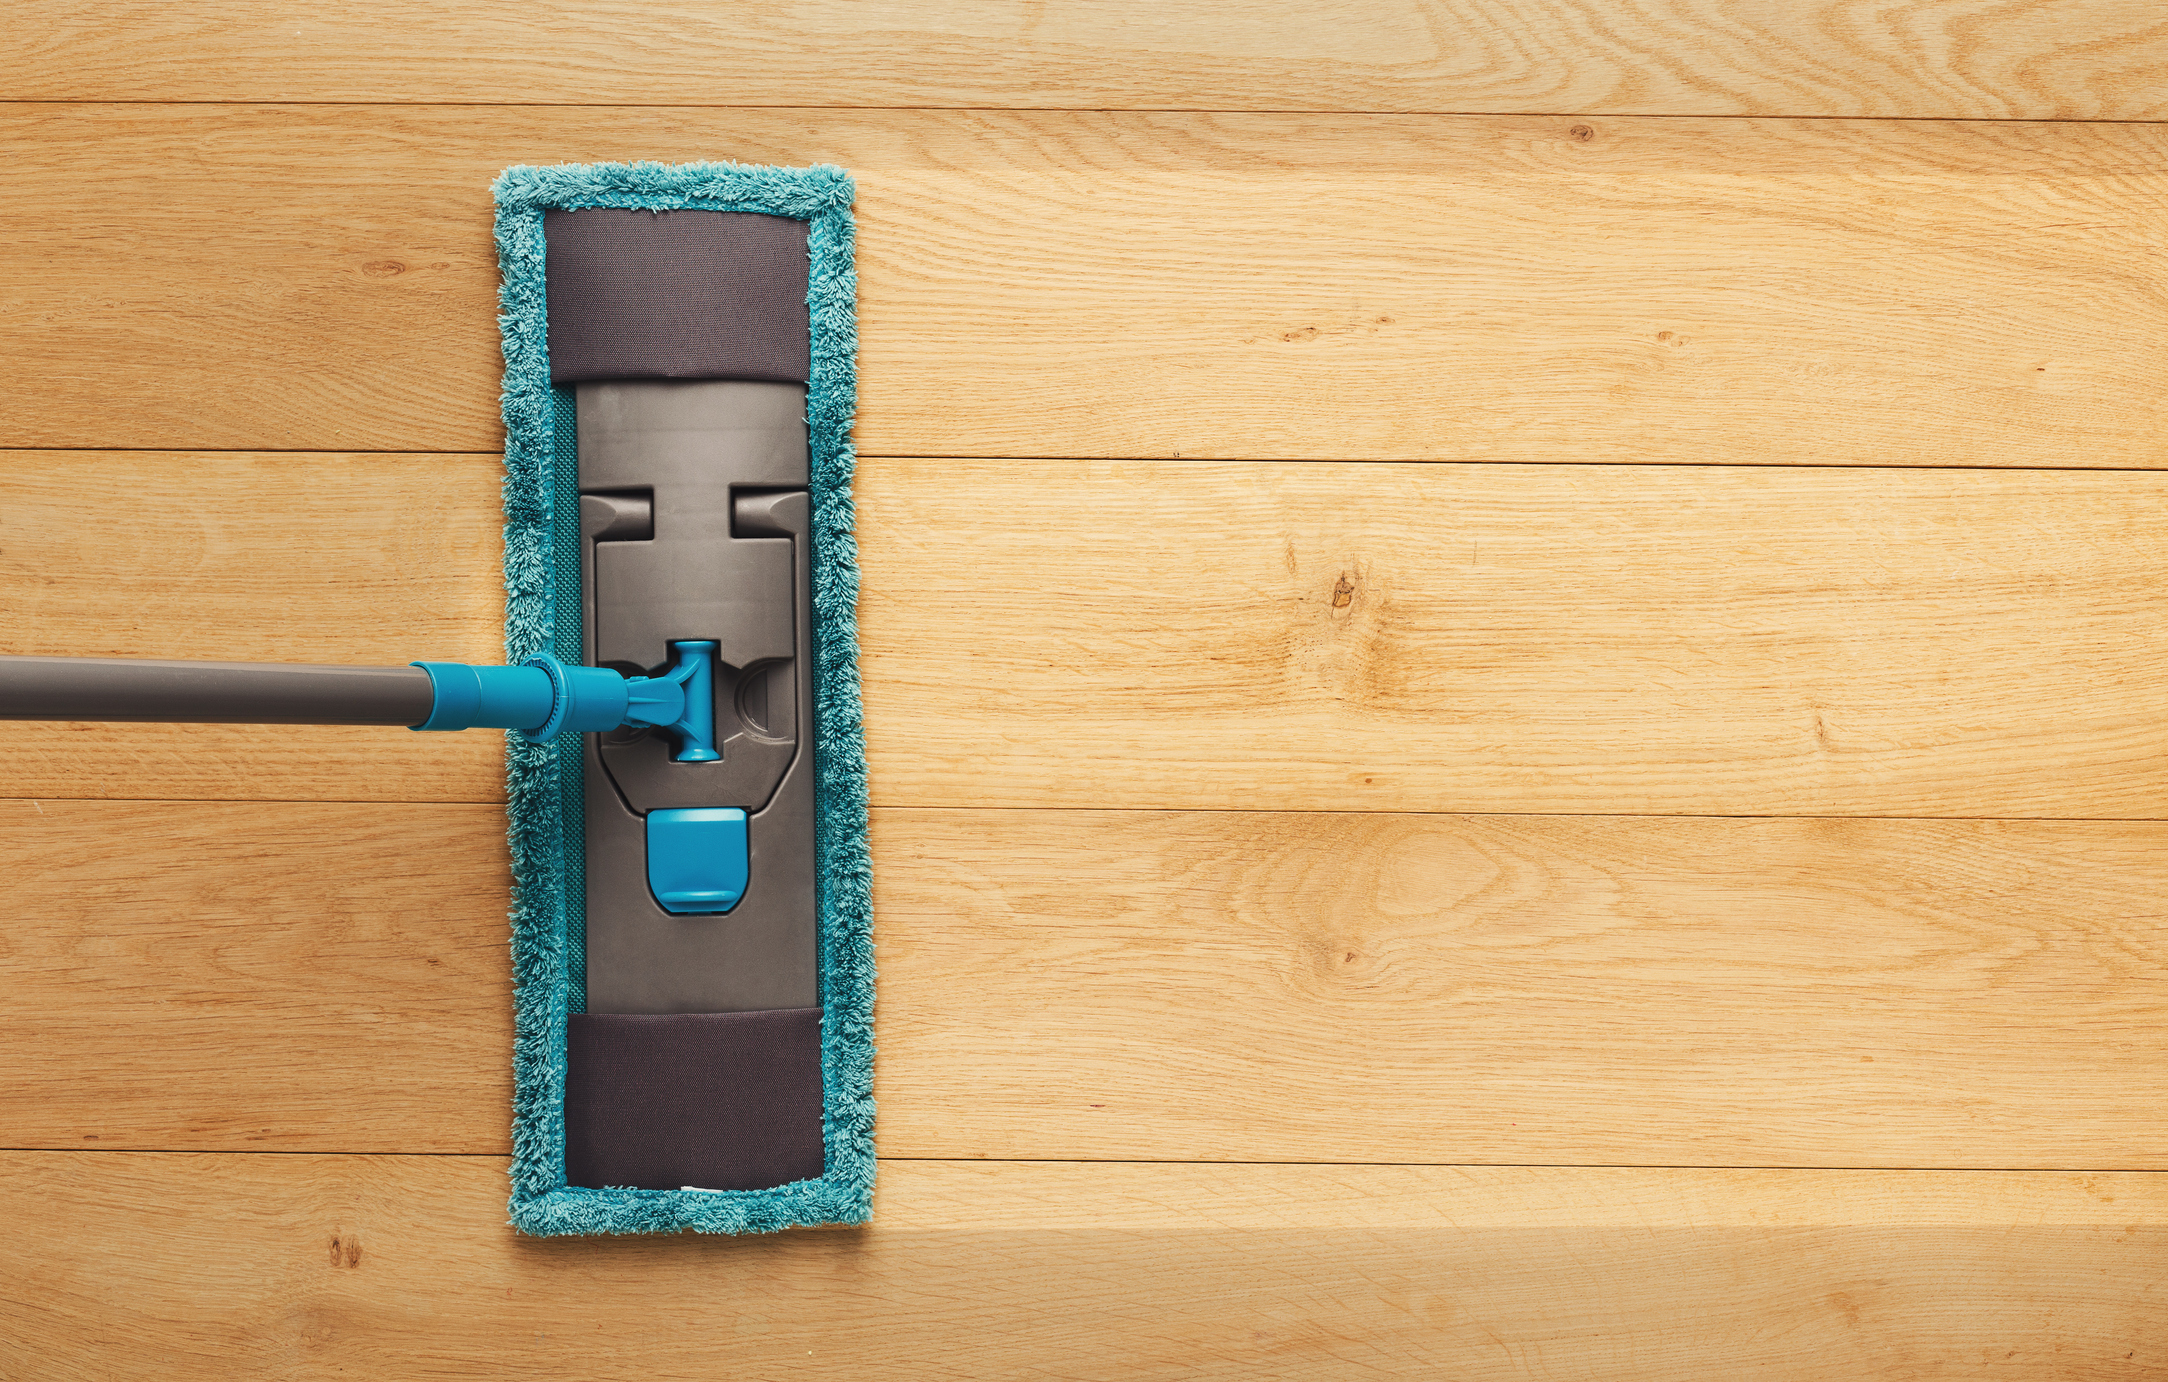
Finally, you’ll want to make sure that you reiterate to the installer they should not use any cleaning or polishing product post-installation that isn’t recommended by the manufacturer. It is a good idea to have a copy of the new flooring’s Care and Maintenance and Installation instructions handy and highlight those areas of importance.
This is important to ensure a successful installation, as flooring that is not properly installed or damaged by products not recommended will not be covered by most warranties. It may seem like a lot of prep work, but your stunning new floors will be worth it!
Lastly, be patient, installing hardwood flooring is a big project and every job is different.
For those of you with DIY in your DNA check out Part 3 of our Installation Guide series next month – Installing Your Own Hardwood Floors.
Leave a Reply