The New Floor Survival Guide & Checklist
- Tags: dealer, floor care, flooring guide, hardwood flooring, installation, maintenance, warranty
- Category: Blog
- 0 comment
So, you’ve made the decision – it’s time to update your floors. You didn’t come by this lightly. You’ve crunched the numbers, done the research and cleared your schedule. Everyone’s on board and you’ve snagged the best-rated installer in town. You’re ready to buy the floors and schedule the appointment. But wait…
The most important part of buying a floor is the installation. Because flooring is the LIFECORE wheelhouse, we thought we’d give you some tips to help you prepare for what comes before, after, and during installation day. New flooring is a big investment with an even bigger reward. LIFECORE can help you navigate your installation journey– both via this blog and its companion checklist – with fantastic results!

First Steps
First and foremost, we recommend purchasing your flooring through an authorized dealer who will help you choose a qualified installer and stand behind the work and any problems that might come up.
If you purchase from a big box retailer or online resource, be prepared for the liability of being your own project manager. Both do not guarantee the product installation. A bad installation could mean you are out the cost of the product and poor installation. Big box and online resources mean you act as the general contractor in finding a qualified installer who will stand behind the work and any problems that come up.
If you’ve never had a floor installed, you don’t know what to expect, so don’t make assumptions. Ask questions. Most installation problems could be avoided with good communication, which is just as important prior to installation as it is during the process itself.
Recent studies show hiring the right service professional was one of the top challenges. So, work closely with your dealer to help guide you. Don’t go by the numbers on your blueprints or a hand-held tape measure to accurately determine the square footage you will need for the job. Flooring professionals have more advanced technology to acquire measurements, coupled with the experience to spot uneven sub-floors, awkward corners, or seam placements that may factor in along with the standard cutting and wastage.
Remember to tell them if you’ll be carrying the new flooring through any closets in the room (we recommend that you do) so that they can figure that measurement in for the most accurate number. Knowing for certain how much square footage you need also enables you to make sure that you find the highest quality choice within your project budget.
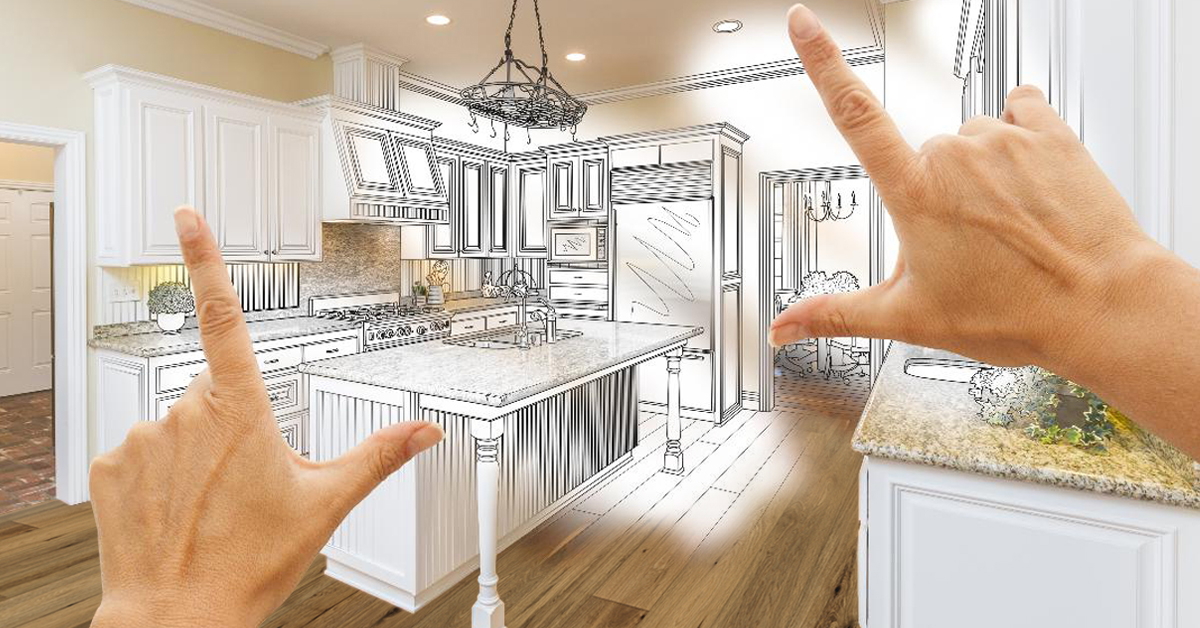
If your new installation includes the kitchen, you’ll want to make sure that you order extra product should you decide to one-day update cabinets or appliances that might be different in size than what you have now. Unless the installer plans to remove everything from the kitchen and put back after they install the floor, the new flooring will be installed around whatever is already there that can’t be easily moved. Should those items change down the road, you may be left with gaps. Side note: You may also want to use the opportunity to clean out the fridge since it will be disconnected and moved.
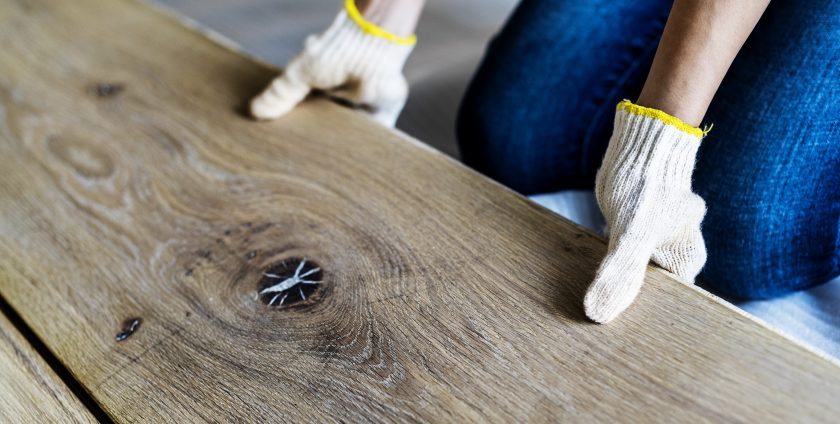
Once your flooring choice has been finalized, we suggest you purchase two to three cartons first before committing to the full order and lay the planks out to get a good feel for the product on a larger scale. Engineered flooring has distinct natural grain and color variances, so you’ll want to lay out a couple of boxes to see how you will want your installer to mix the planks for your desired look. Move them around the room(s), in front of the window, under the furniture and next to the painted wall that it will be cohabitating with to give you a better idea of the final aesthetic. This practice may inspire you to make other décor changes or save you from making unnecessary ones depending on how it looks.
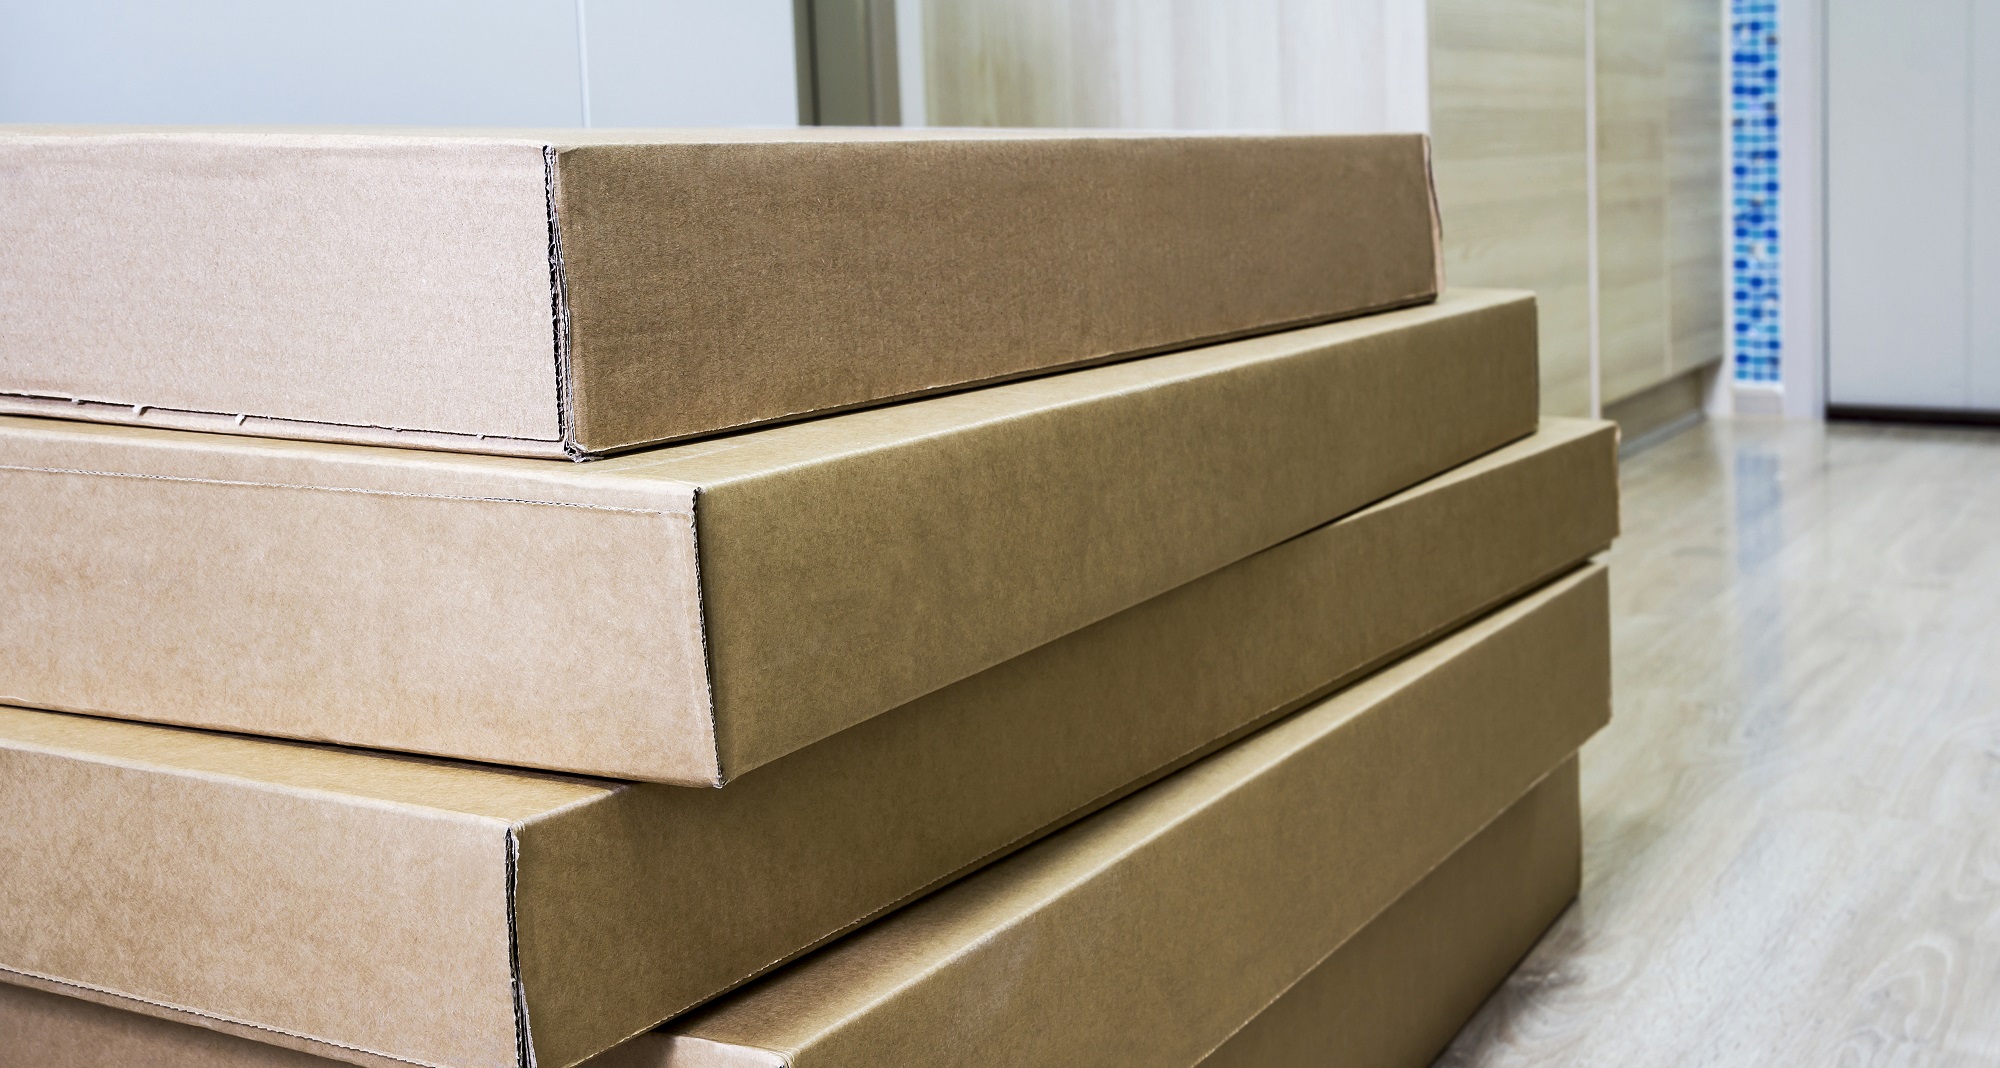
When you do place your order, make sure the flooring will arrive at least 72 hours before the installation. You want to keep the flooring in the same climate that you plan to install in so that it properly acclimates.
This would also be the time (before installation) to decide if you want to update paint and / or wallpaper. Even the neatest painter job has drip and scuff potential, so why not let that be your old floors’ last contribution to the house? Plus, think of the end result! New floors and new walls will really transform your living space! Remember that if the room you’re painting has closets you’ll want to give a fresh coat to the closet interiors and possibly the doors and ceiling.
Though not as glamorous as paint, selecting the right transitions, trims, and moldings is essential. These pieces create the smooth transition from the horizontal floor to the vertical wall, both aesthetically and structurally. They hide the necessary 3/8-inch expansion gap along the perimeter of the room in a floating-floor installation that allows for climate-based expansion and contraction. They also serve to allow the room-to-room flow, laying flat on the floor as two rooms with different flooring connect (especially hallways). Speak to your installer about this, so you have the final say in which look is selected, as they come in different styles and colors.
Your home installation location and sub floors will determine whether your flooring will be glued, nailed or floated. If the decision is made for a float installation you may want to ask your contractor if he or she recommends that you include an underlayment to muffle the sound underneath your new flooring. There are several good options, depending on what kind of product you install or what you are installing over that will ensure that you don’t hear any creaking or squeaking when you walk on your beautiful new floors.
If you haven’t already, measure doors and make sure that they are still the right height for your new flooring. If the new flooring is higher than the old, it may be necessary to trim the bottoms of your doors in order to accommodate the changes in height. Or, you may also want to consider this an opportunity to update your doors altogether, budget willing. If not, consider a refresh on the hardware, you’d be surprised at the “new home feel” you’ll get.
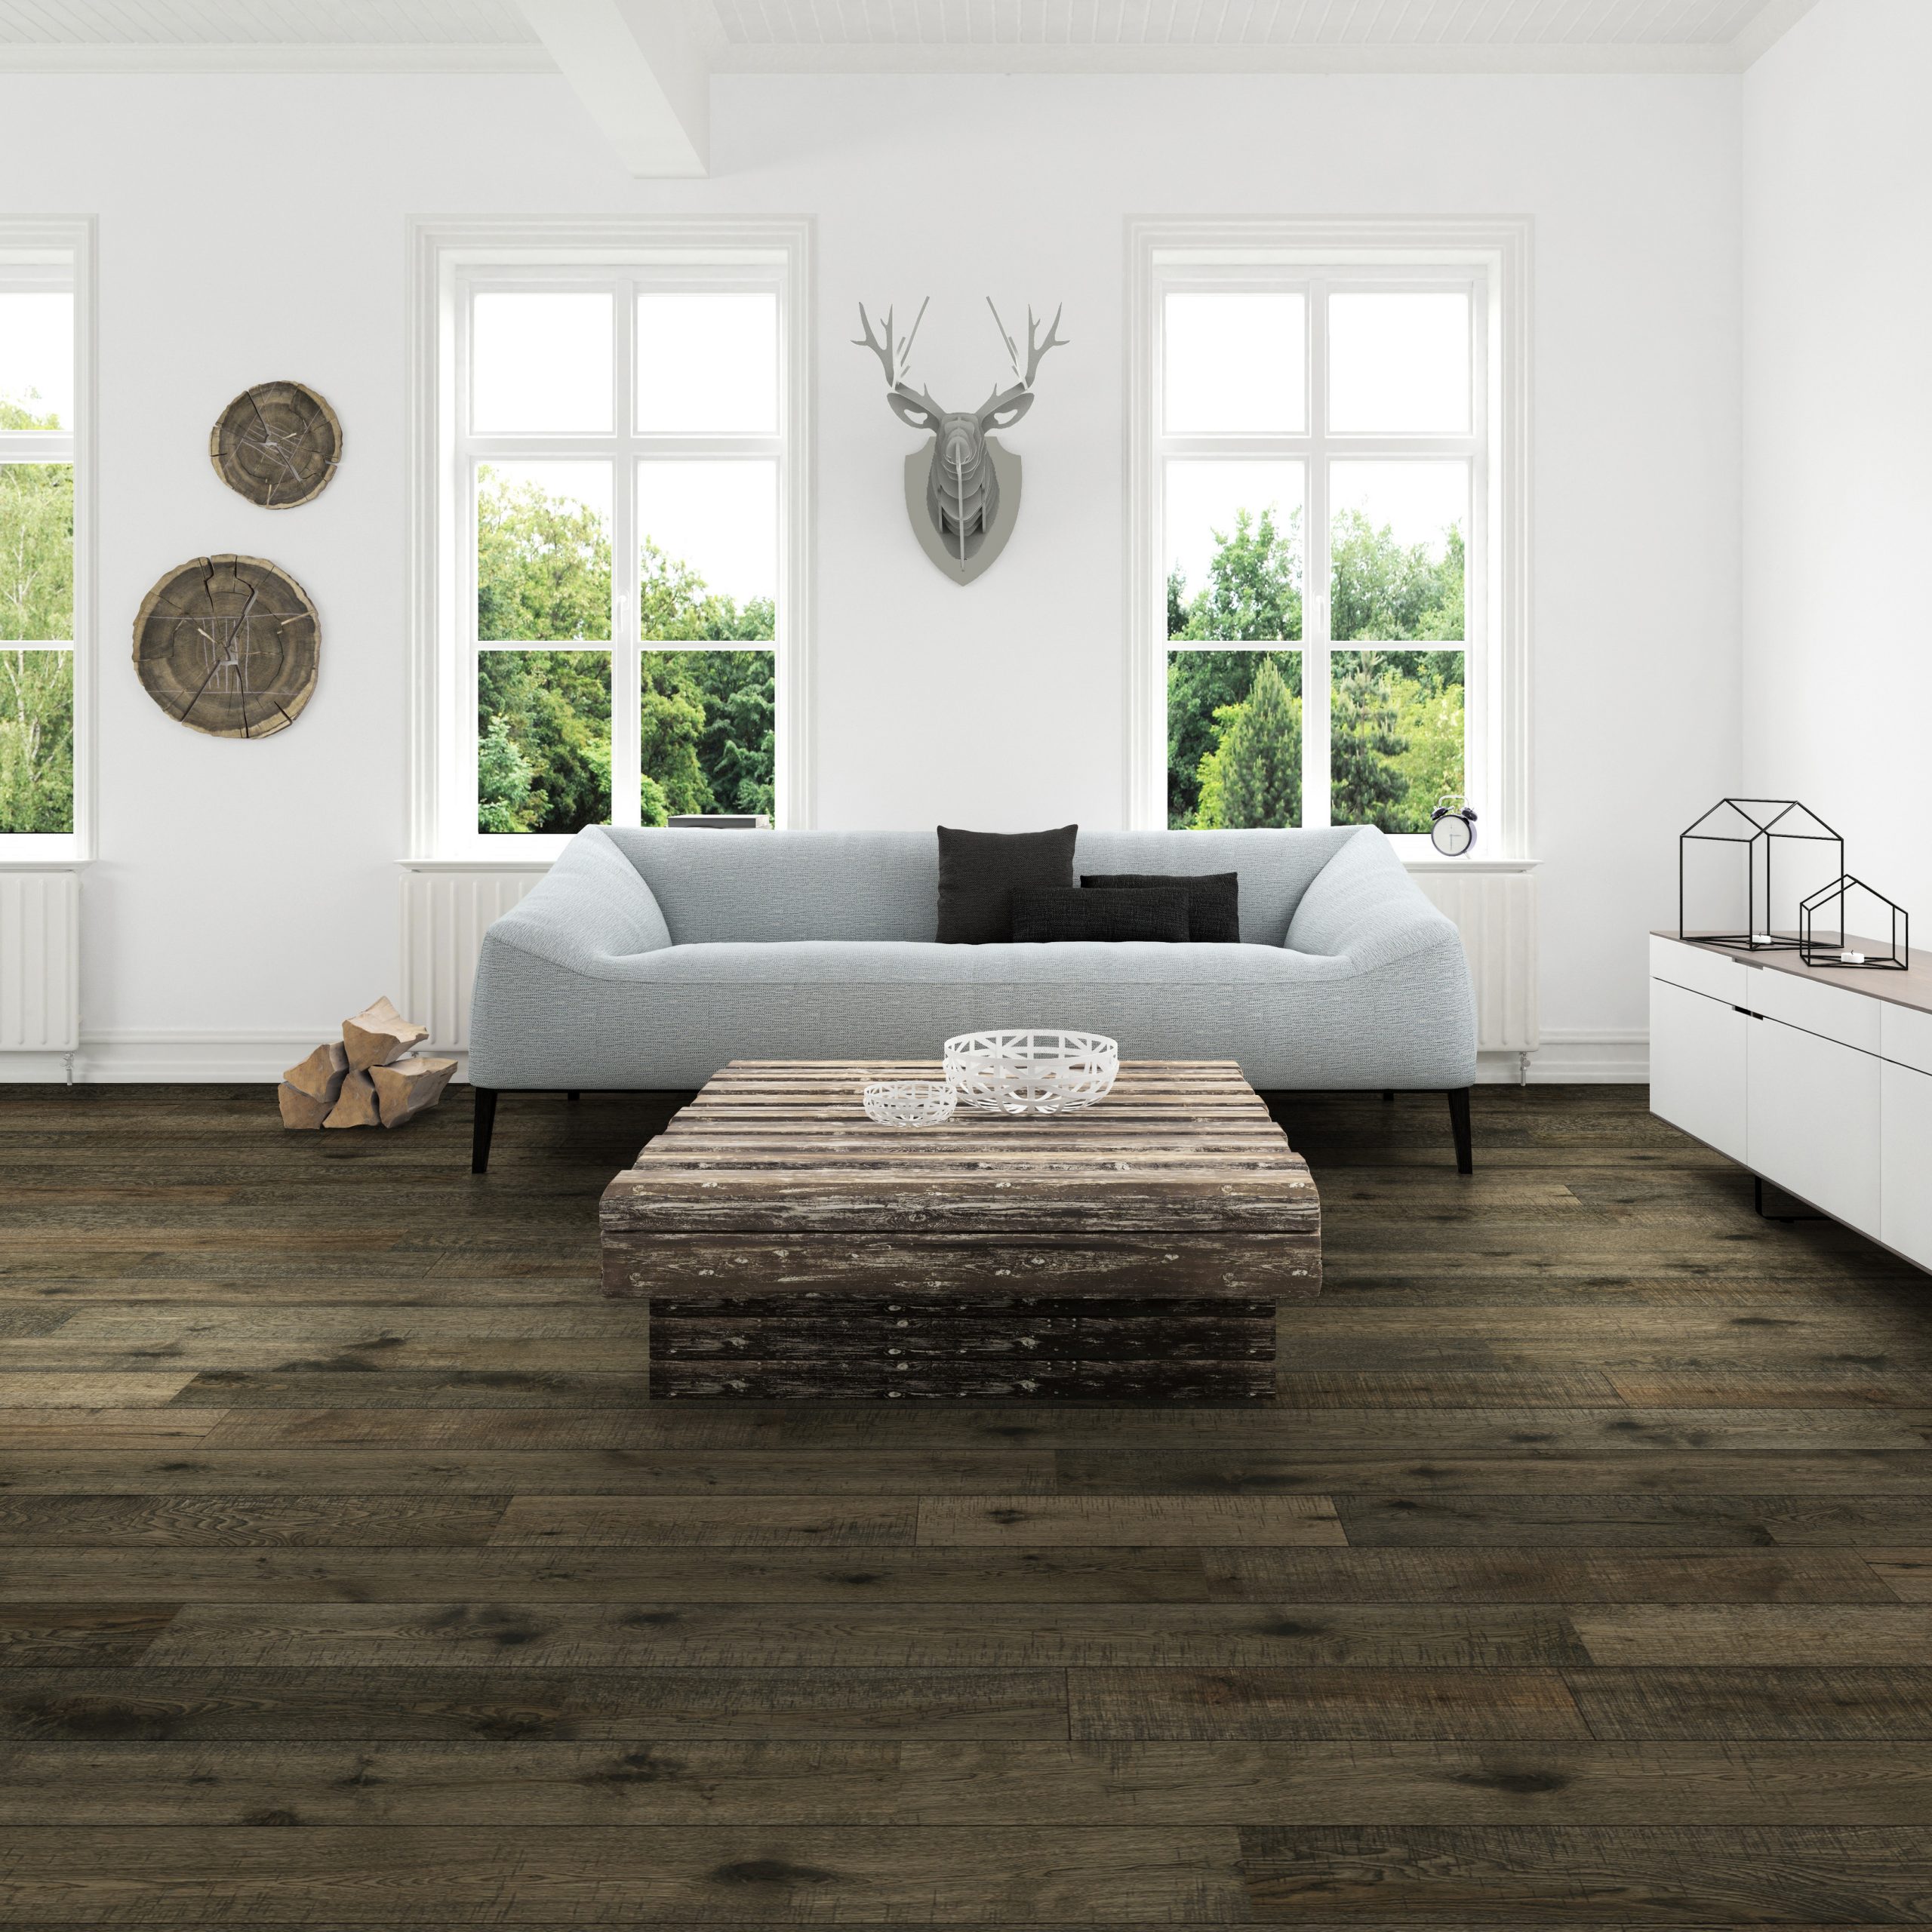
Going from carpet to hardwood? You may have already started eyeing up stylish area rugs, both for aesthetics and for comfort. This is a great idea, but keep in mind that hardwood species (like any natural textile) can change color over time due to sunlight exposure, while the area under your area rug will not. The best way to avoid that “surprise” when you lift the rug later on is to periodically move it to different areas in the room so that the entire surface at some point is exposed to ambient or direct light. Or, you could just buy a LIFECORE floor, as our new reactive surfaces are fade resistant. For hardwood areas that will not have an area rug don’t forget to invest in pad protectors for furniture, door mats, and pads for pet bowls to safeguard your beautiful new floors.
A Few Days Before Installation
Check in with your dealer and installer.
The installer will need a clean, empty space to work with. If you plan to remove your existing flooring make sure you communicate with your installer so that you meet their requirements for installation.
Many contractors will move the furniture, but there are still steps you’ll need to take to ensure the room is installation-ready. For instance, empty out the drawers of any bureau or chests to make them lighter to move. You will also need to clear everything out of closets prior to installation day so that the contractors can work. Even if you opt not to carry the flooring through your closet, dust from installation can get on your clothing and only make for more work later. Pick up boxes for consolidating items that will need to be moved and consider donating those you don’t want anymore. Purge and organize – no time better to get rid of furniture and accessories you don’t need.
Drapes, window coverings, artwork or anything that is lower than 36” from the floor should also be removed from the installation area, as should valuables such as jewelry. Also, find a temporary home out of harm’s way for breakable objects.
If you have central air, this may also be a good time to replace air filters and clean vents to keep the air quality good and the dust bunnies away!
After Installation
Make sure the family doesn’t walk on the new floors before your installer gives you the okay. Keep the temperature and humidity steady, generally around 60-80 degrees Fahrenheit with humidity at 30-50 percent. If you can’t adjust through central air you may need to use a humidifier in the winter or a dehumidifier in the summer.
It is very important to read BOTH the Warranty and Care and Maintenance instructions that came with your flooring. The Care and Maintenance instructions will teach you which products and equipment are recommended to keep your floors looking great. The Warranty will give you a heads-up on what’s not covered should you decide to try your Great Aunt’s vinegar floor cleaning concoction and find out the finish doesn’t respond well.
Lastly, take the time to take it all in. You’ve put a lot of thought and planning into this, and you should take a moment to pat yourself on the back as you enjoy your new floors!
Leave a Reply